
Desserts are the perfect way to conclude a meal, and when it comes to traditional Indian sweets, Gur Ki Kheer holds a special place in our hearts. This delectable rice pudding infused with the sweetness of jaggery, also known as gur. It is a timeless classic that has been enjoyed for generations. In this article, we will take you on a culinary journey, exploring the heavenly flavors of Gur Ki Kheer. From its humble origins to the secret tips for perfect preparation, we have got you covered!
The History and Significance of Gur Ki Kheer
Gur Ki Kheer has its roots in Indian culinary traditions with its origins dating back centuries. This sweet delicacy has been an integral part of festive celebrations, family gatherings, and religious ceremonies. The use of jaggery as a sweetener instead of sugar adds a distinct flavor and a touch of warmth to the kheer.
Recipe Card
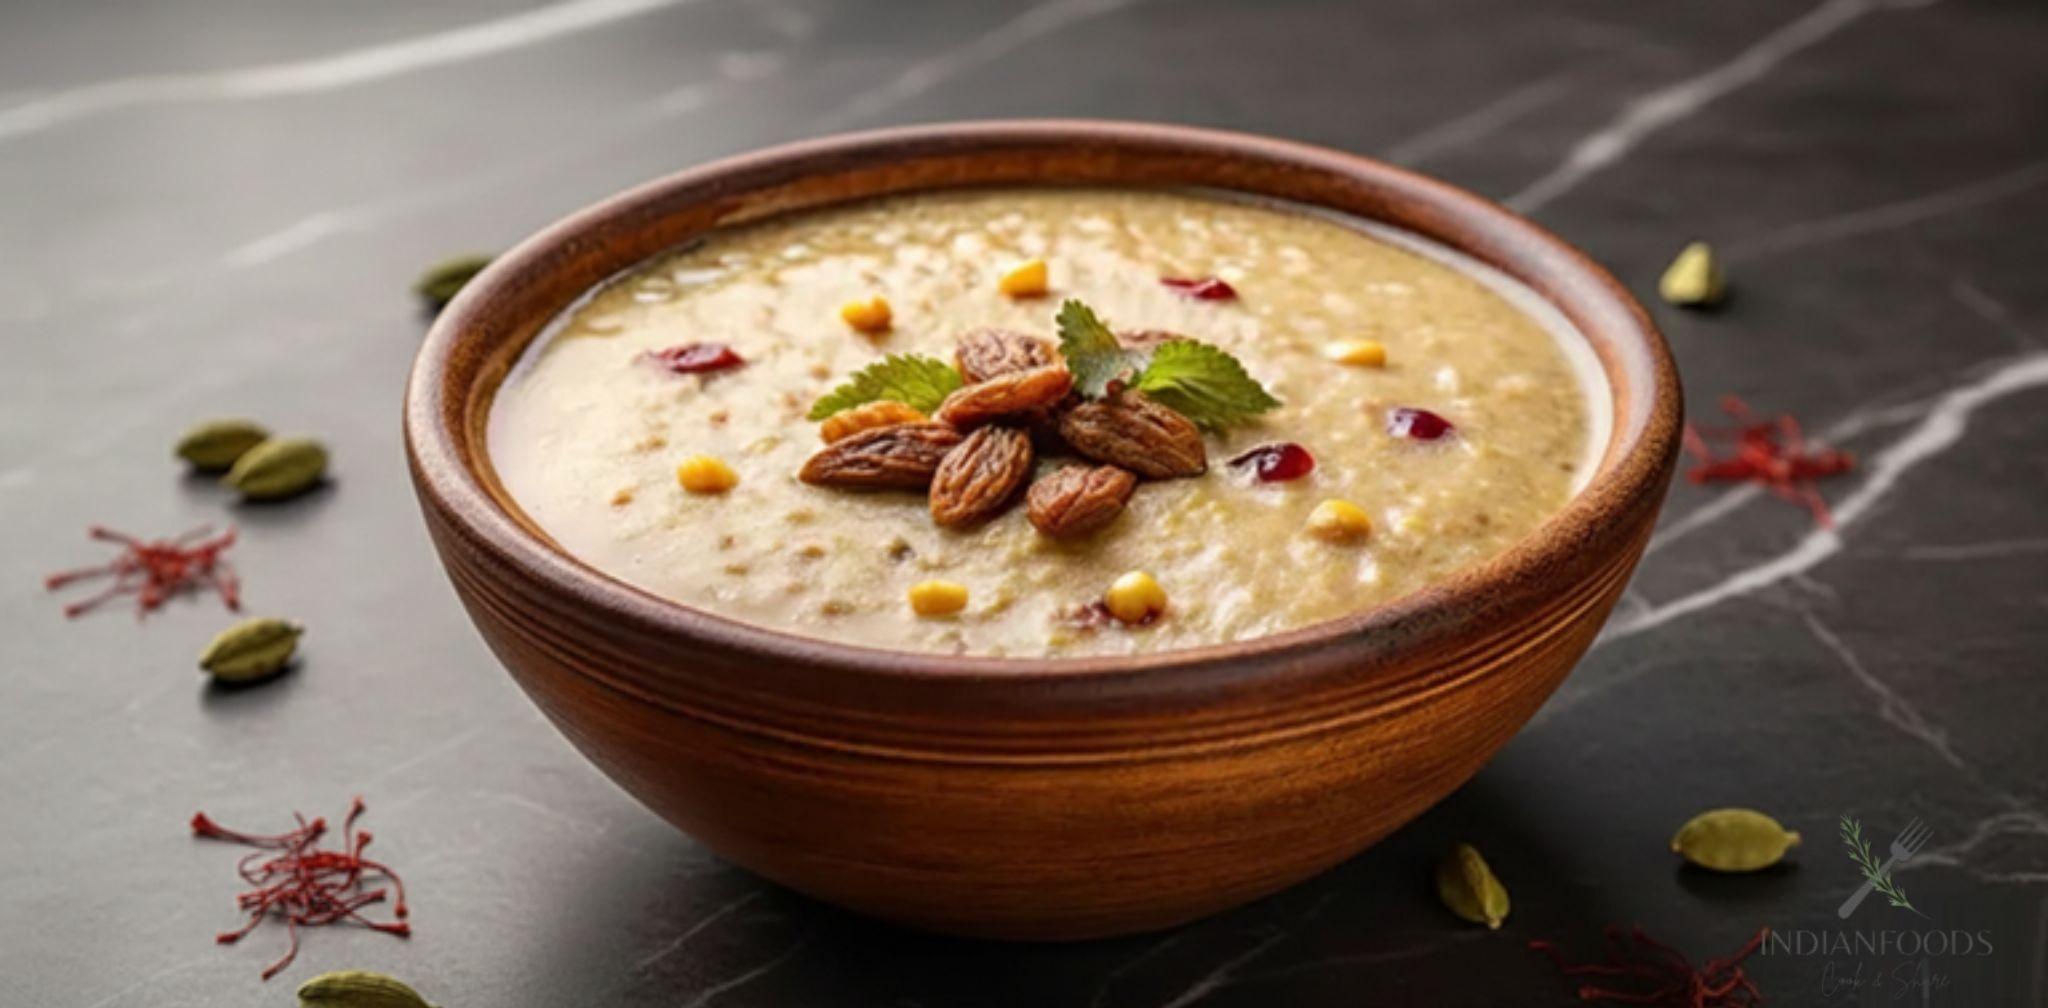
Gur Ki Kheer (Jaggery Rice Kheer Recipe)
Ingredients
- 1 cup Basmati Rice
- 1 liter Full-fat milk
- 1 cup Jaggery (gur)
- 1/4 cup Mixed dry fruits (cashews, almonds, pistachios, raisins)
- 1/2 tbsp Cardamom powder
- A pinch of saffron strands
- 1 tbsp Ghee (clarified butter)
Instructions
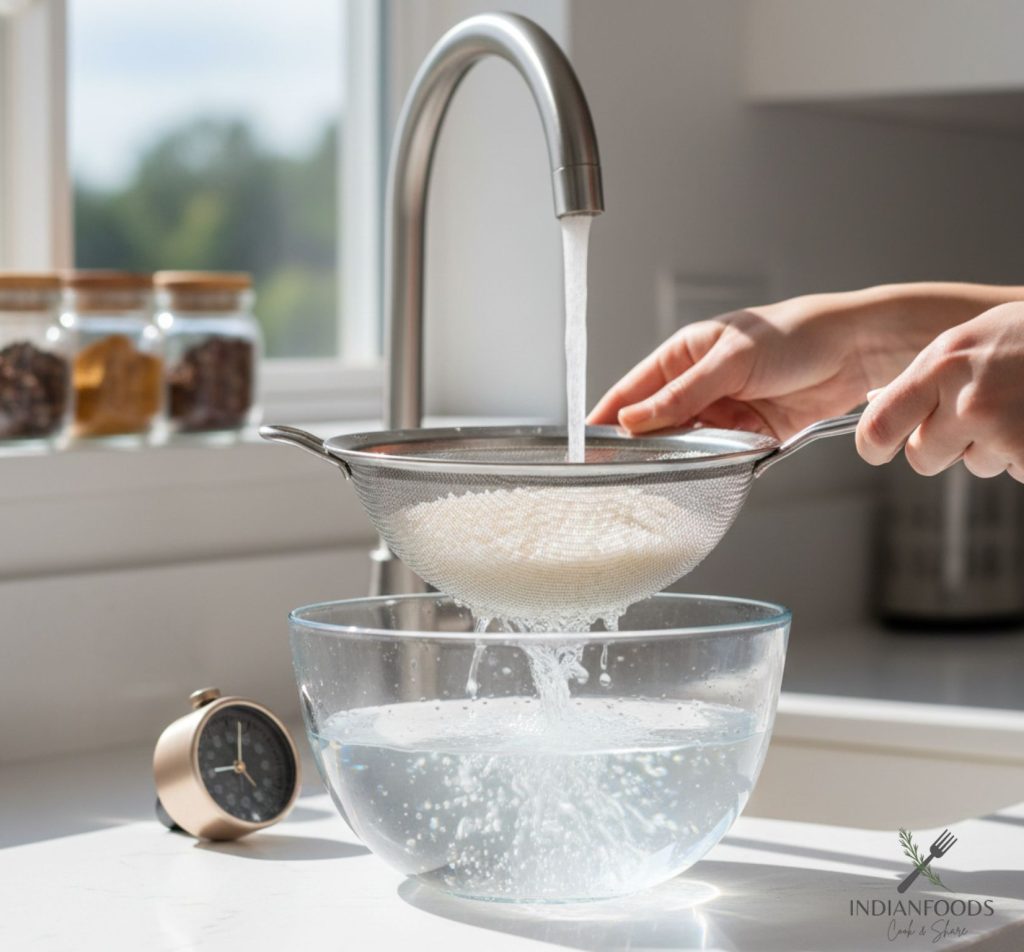
- Wash the Basmati rice properly and soak it in water for 30 minutes.
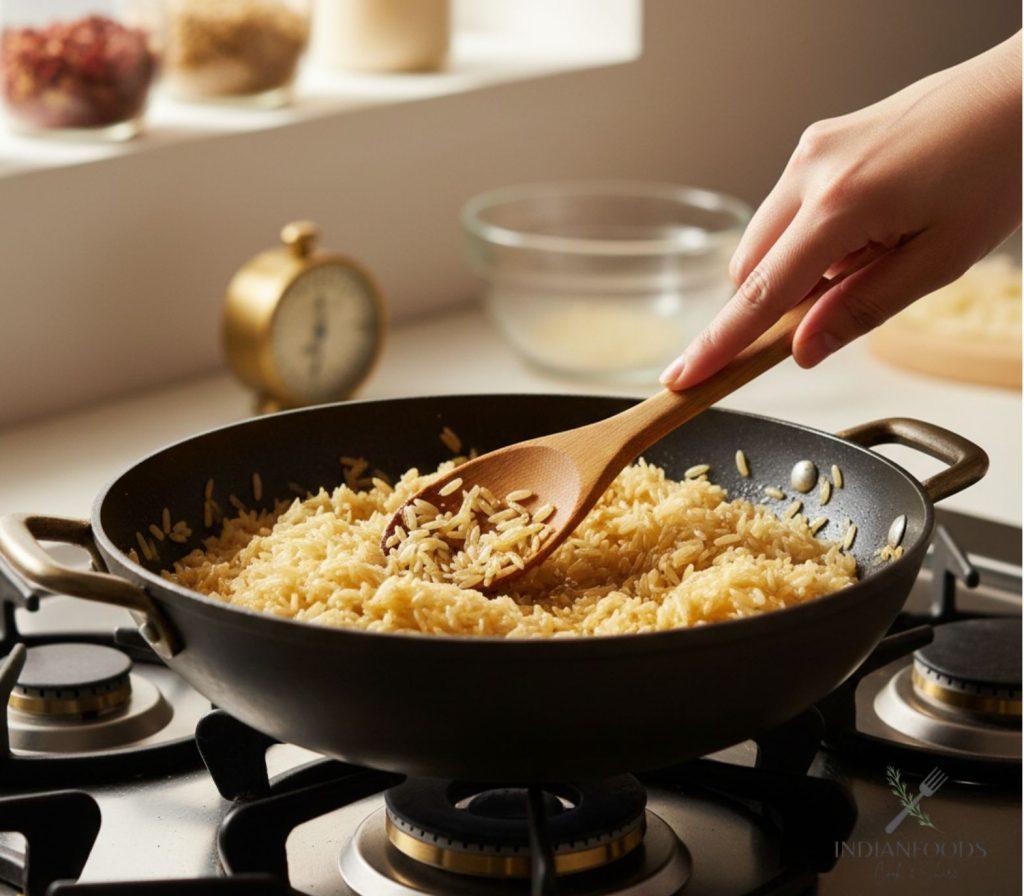
- In a heavy-bottomed pan, heat ghee and add the soaked rice. Cook the rice for a few minutes until it turns slightly golden.
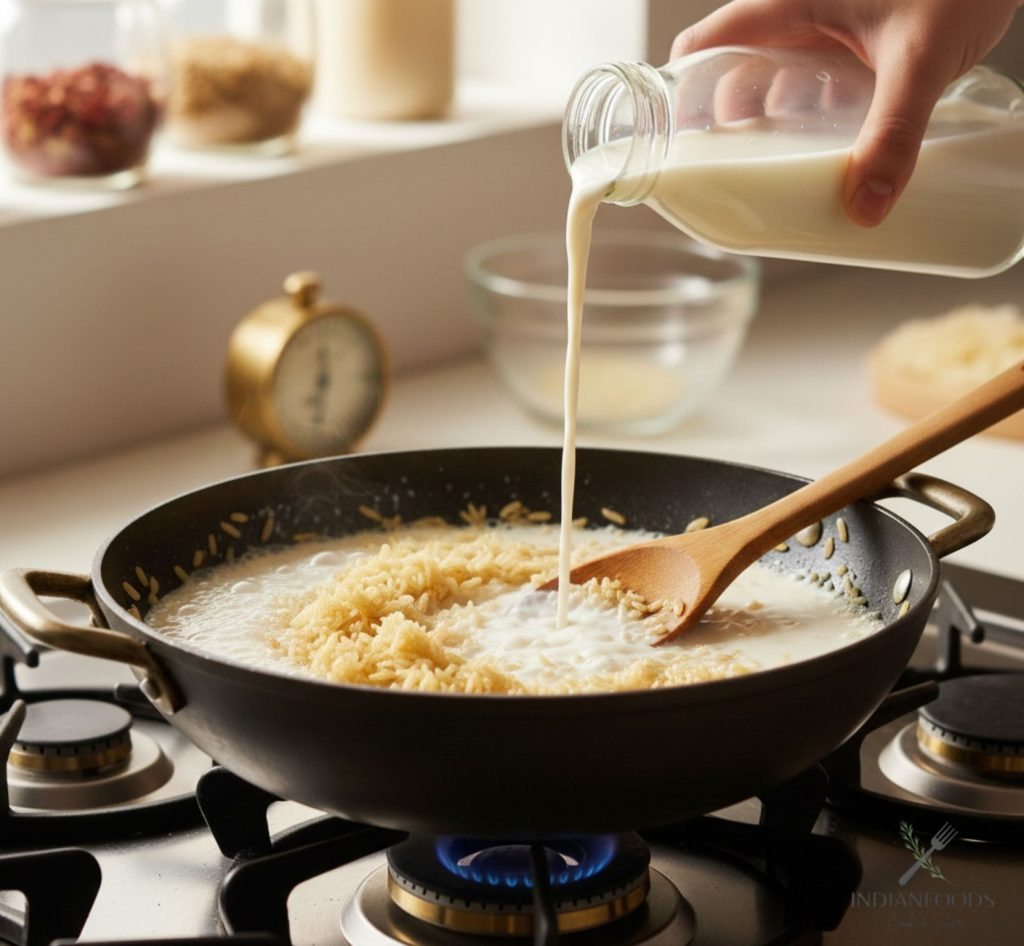
- In the same pan, add milk and bring it to a boil. Lower the heat and allow the rice to cook in the milk, stirring occasionally.
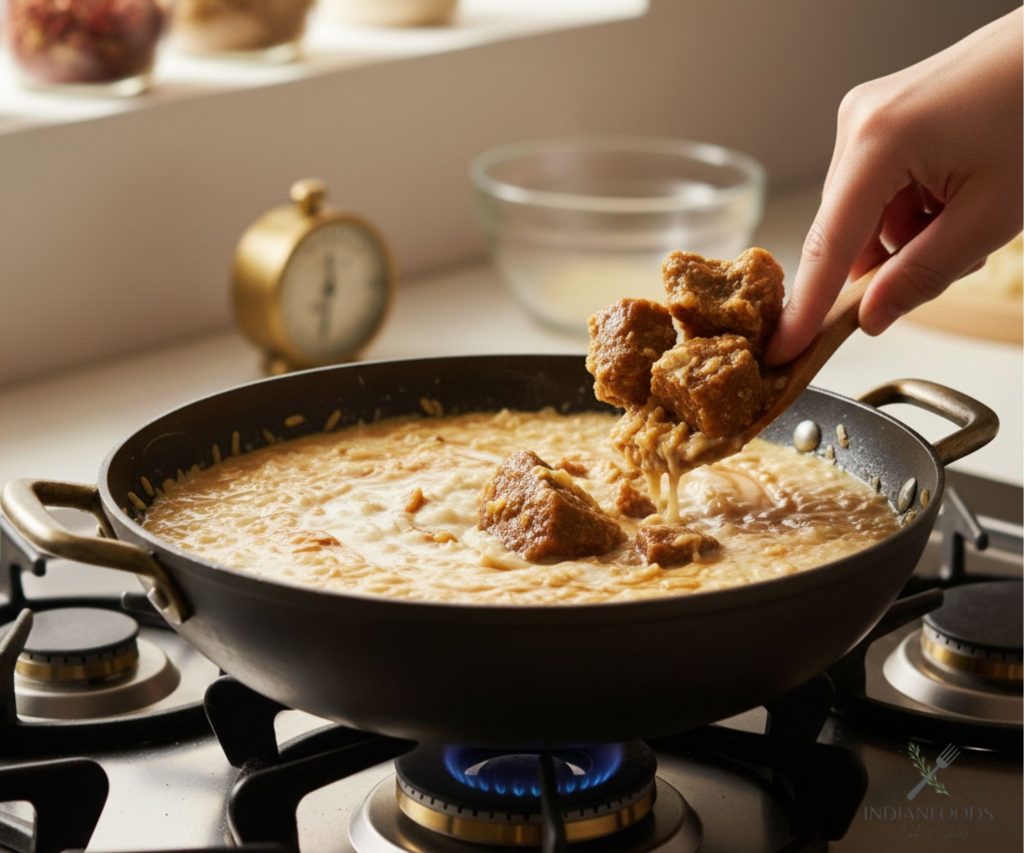
- Add the jaggery once the rice cooks and the kheer thicken to a creamy consistency, then mix well until it dissolves completely.
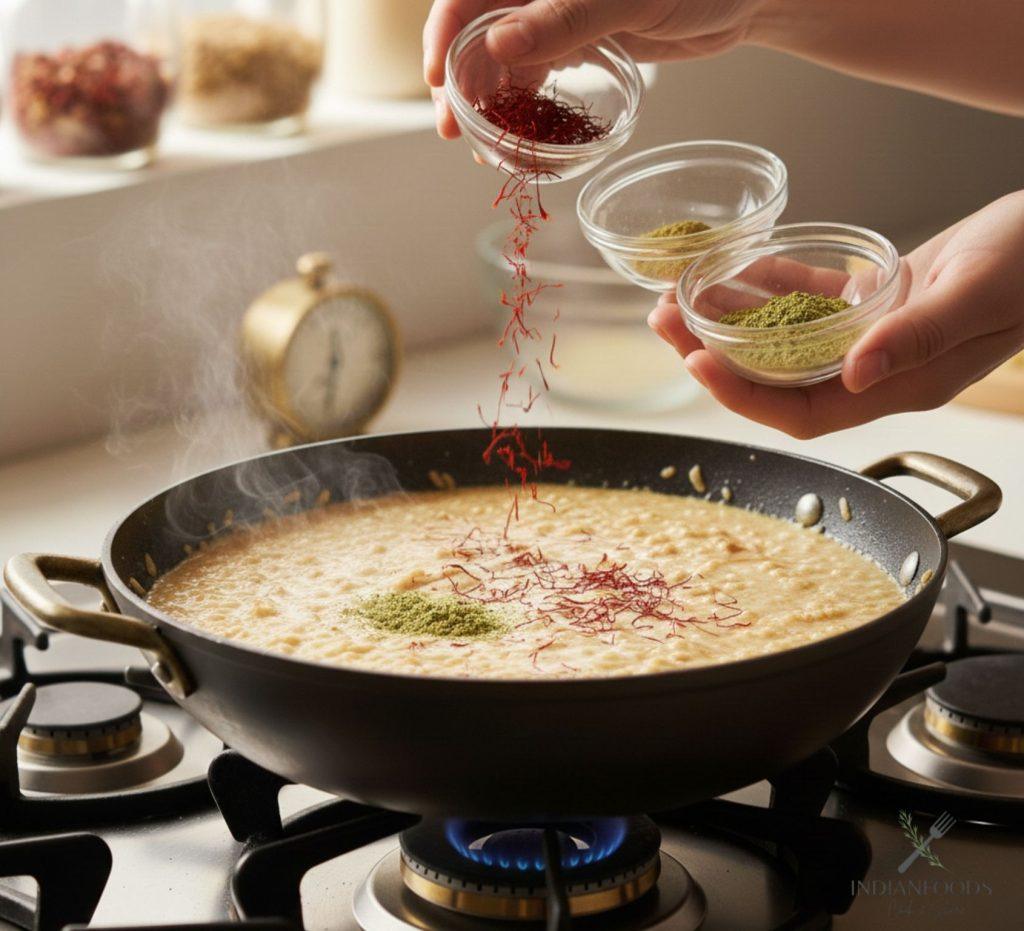
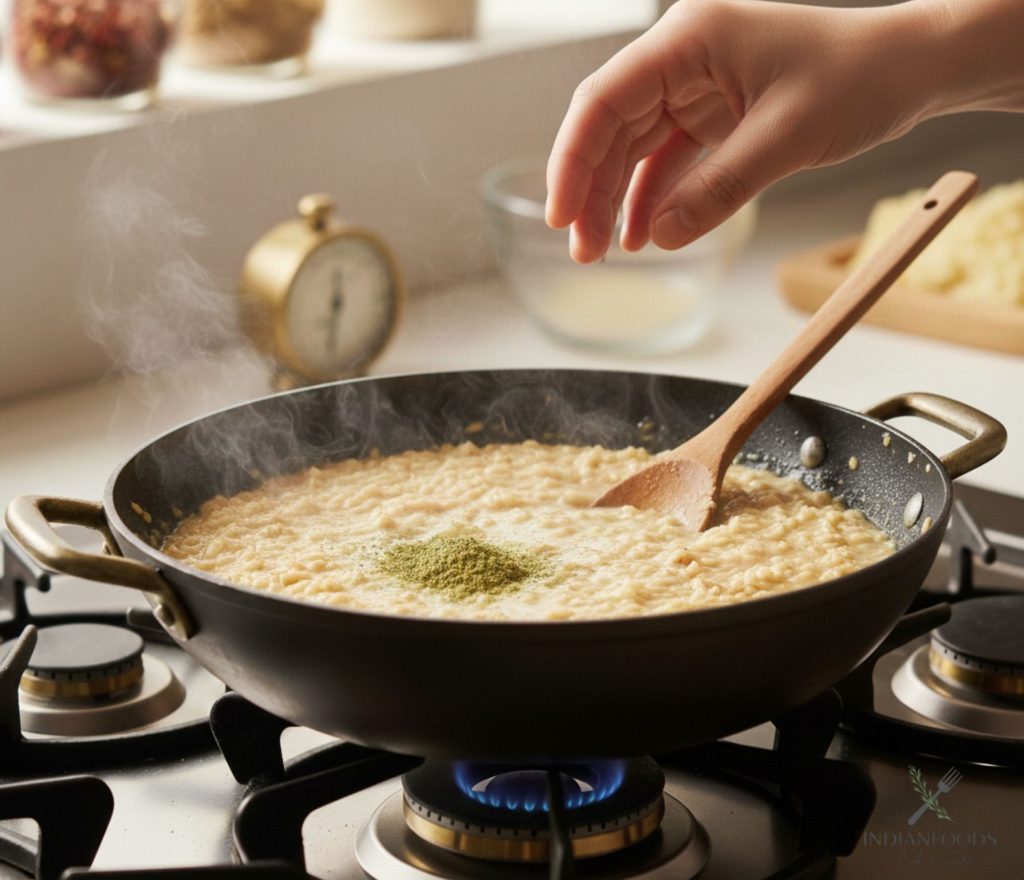
- Add cardamom powder and saffron strands, giving the kheer a fragrant and vibrant appeal.
- Simmer the kheer for a few more minutes, allowing the flavors to meld together.
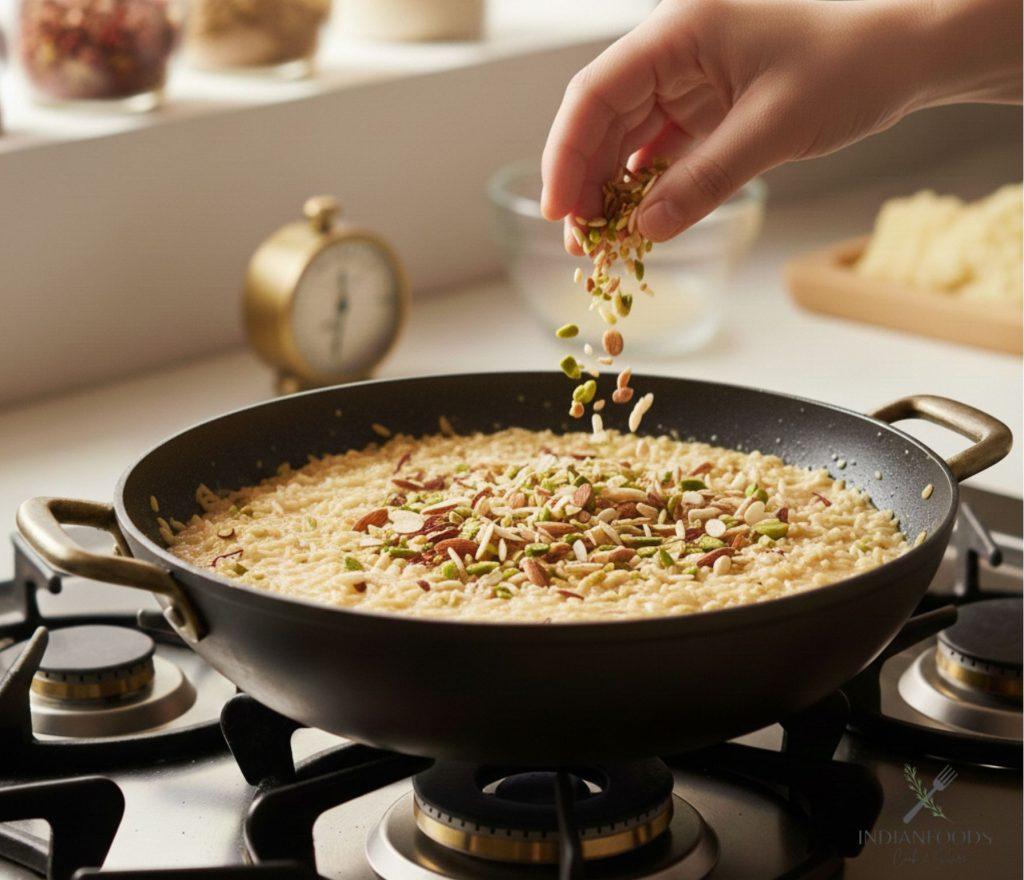
- Turn off the heat and garnish the kheer with a generous sprinkle of mixed dry fruits.
Notes
- Always add jaggery after turning off the heat to prevent curdling.
- Adjust jaggery quantity based on sweetness preference.
- Use fresh, soft jaggery for best flavor.
Variations and Enhancements to Gur Ki Kheer
While the classic Gur Ki Kheer recipe is a delight in itself. You can experiment with some variations to add your own twist. Here are a few ideas to enhance your kheer:
Coconut Gur Ki Kheer: Substitute some of the milk with coconut milk for a tropical twist.
Saffron and Rose Gur Ki Kheer: Infuse the kheer with the aroma of rose water and add a pinch of saffron for an opulent touch.
Apple and Cinnamon Gur Ki Kheer: Introduce diced apples and a dash of cinnamon to create a fruity and aromatic version of this traditional dessert.
Conclusion
Indulging in the richness and sweetness of Gur Ki Kheer is truly a delightful experience. This traditional Indian dessert captures the essence of our culture and offers a heavenly treat for your taste buds. So, gather the ingredients, follow the steps, and embark on a culinary journey to savor the flavors of this beloved dish. Whether it’s a festive occasion, a family get-together, or simply a craving for something sweet, Gur Ki Kheer is the perfect dessert to satisfy your soul.
Frequently Asked Question
While Basmati rice is commonly used for its long grains and aromatic qualities, you can experiment with other rice varieties as well. However, always keep in mind that the taste and texture might differ slightly.
Although jaggery adds a unique flavor to Gur Ki Kheer, you can substitute it with an equal amount of sugar if desired. However, the taste and aroma will vary.
Yes, you can easily make a vegan version of Gur Ki Kheer by using plant-based milk, such as almond milk or coconut milk, and replacing ghee with a vegan-friendly alternative.
Gur Ki Kheer can be refrigerated for up to 2-3 days. However, make sure to store it in an airtight container to maintain its freshness.
Gur Ki Kheer can be enjoyed both ways, depending on your preference. Serve it warm during winters or refrigerate it for a chilled dessert on hot summer days.
Yes, Gur Ki Kheer is naturally gluten-free as it does not contain any gluten-based ingredients.
