
Matar paneer is the curry most Indian kitchens make on repeat. Quick enough for a Tuesday, festive enough for guests. This recipe covers the exact method for a smooth, restaurant-style gravy, the dhaba version with extra smoke and ghee, and the troubleshooting questions you’ll actually hit — rubbery paneer, a gravy that splits, peas gone dull and starchy.
KEY TAKEAWAYS
- Soak paneer in warm water for 10-15 minutes instead of frying it if you want that soft, restaurant-style bite.
- Cook the masala until oil visibly separates at the edges. This one step decides whether your gravy tastes raw or actually tastes cooked.
- Add paneer last and simmer gently. Boil it hard and even good paneer goes chewy.
- Frozen peas work fine. They need three or four minutes, tops.
- Dhaba versions lean on more ghee, deggi mirch, and a pinch of kasuri methi for that smoky, roadside depth.
- This curry is naturally vegetarian and easy to make vegan — swap in firm tofu, use oil instead of ghee.
What Is Matar Paneer And Where Does It Come From?
Matar paneer is a North Indian curry made with paneer (fresh Indian cheese) and matar (green peas) cooked in a tomato-based gravy. It sits in the same family as palak paneer and paneer bhurji, and it’s one of the most-ordered vegetarian dishes at dhabas, wedding buffets, and family dinners right across India.
The dish most likely came out of Punjab and Delhi kitchens, where home paneer-making was routine and winter meant a glut of fresh green peas. The two got paired because they work off each other — peas bring natural sweetness and a bit of bite, paneer brings a mild, milky richness and soaks up whatever spice you throw at it.
There’s no single “correct” matar paneer, and anyone who tells you there is hasn’t eaten it in enough houses. Home versions run lighter — thinner tomato gravy, less oil. Restaurant and dhaba versions run richer, often finished with cream or a cashew paste, sometimes pushed to a deeper red with extra tomato or a touch of deggi mirch. Both are the real thing. They just come from different kitchens and different occasions. What stays fixed is the base: onions, tomatoes, ginger-garlic, and a plain spice mix of turmeric, red chilli, coriander, garam masala.
Should I Fry The Paneer Or Use It Soft?
Both work. Soaking paneer in warm water gives you the softest texture; a light pan-fry gives firmer bite and golden edges. Pick whichever suits the curry you’re going for.
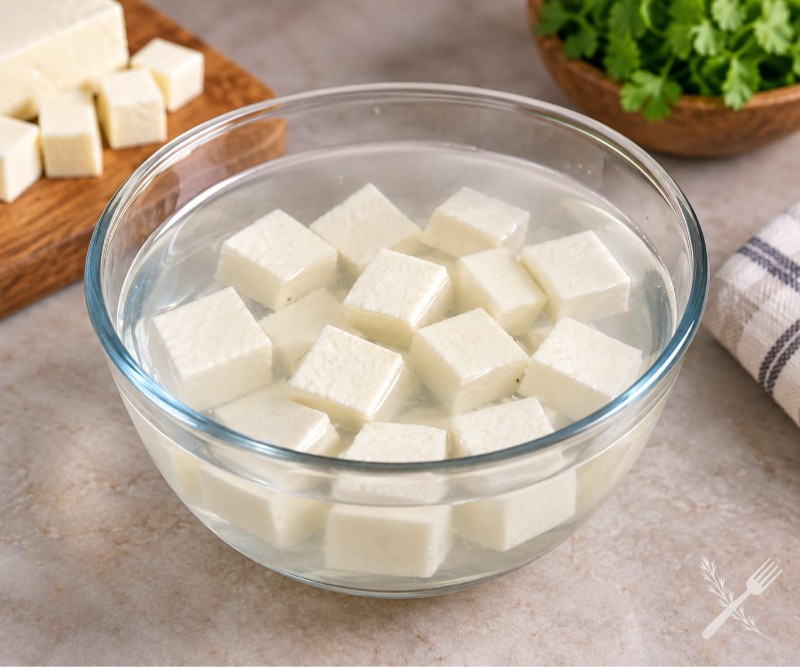
For soft paneer, cut into cubes and soak in warm — not boiling — water for 10-15 minutes while the gravy cooks. This keeps it supple and stops it turning chewy once it hits the hot curry. Drain right before adding.
For firmer paneer with a bit of a crust, heat a teaspoon of oil or ghee and shallow-fry the cubes on medium, turning gently, until pale gold on a couple of sides. About 2-3 minutes. Don’t deep-fry at high heat — paneer scorches fast and goes rubbery the moment it cools. If you do fry it, soak the fried cubes in warm water for 5 minutes before adding them to the curry. This undoes some of the toughness from frying and lets the paneer actually drink up the gravy instead of sitting there dry.
Recipe Card
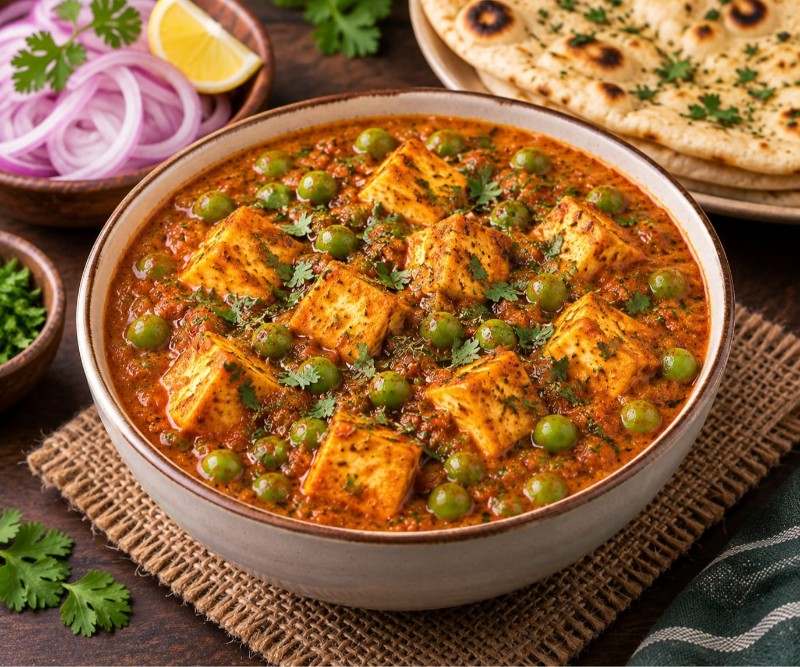
Matar Paneer Recipe
Ingredients
Ingredients
- 200 gram paneer Cut into cubes; soak in warm water for 10-15 minutes.
- 1 cup Green peas Fresh or frozen
- 2-3 large Onion Finely chopped
- 2-3 medium Tomatoes Pureed or finely chopped
- 1 tsp Ginger-garlic paste
- 1-2 tbsp Ghee
- 1/2 tbsp Garam masala Add near the end
- 2 tbsp Fresh coriander Chopped
- 1 tsp Cumin seeds For tempering
- 1/2 tsp Kasuri methi Crushed
Instructions
- How to keep paneer soft – Cut the paneer into cubes and soak them in warm water for 10–15 minutes. This keeps the paneer soft and prevents it from turning chewy.
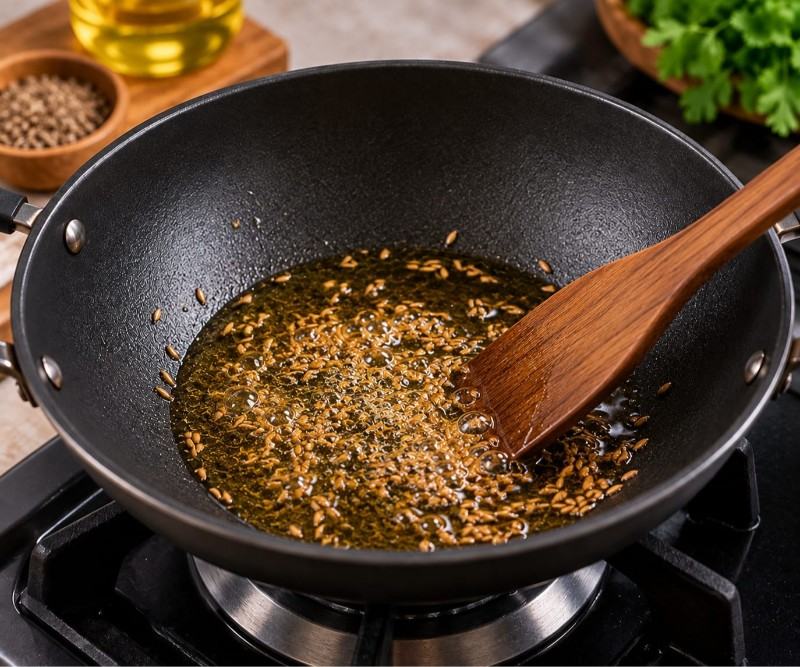
- Heat oil or ghee in a kadai and add cumin seeds. Let them sizzle for about 30 seconds until fragrant.
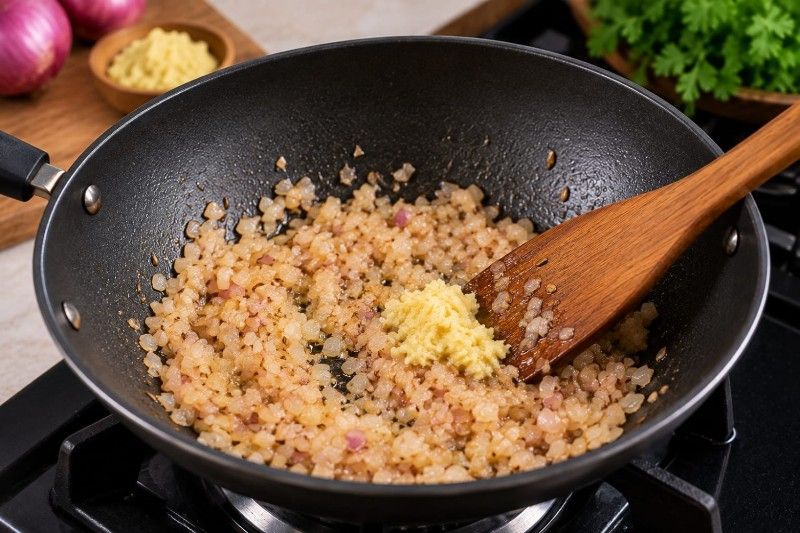
- Add chopped onions and cook until light golden. Add ginger-garlic paste and cook for 1 minute.
- Add tomatoes, turmeric, red chili powder and coriander powder. Cook until the masala thickness and the oil separates.
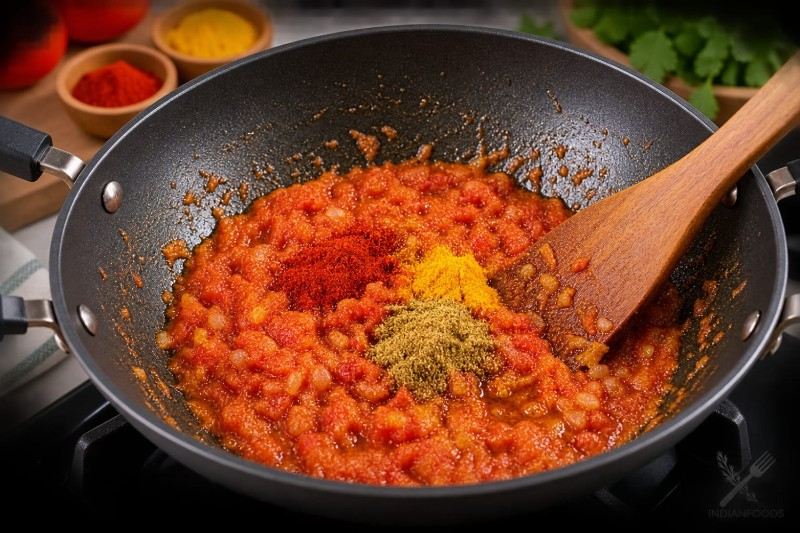
- Add water and mix well to loosen the gravy. Bring it to a gentle simmer for 2–3 minutes.
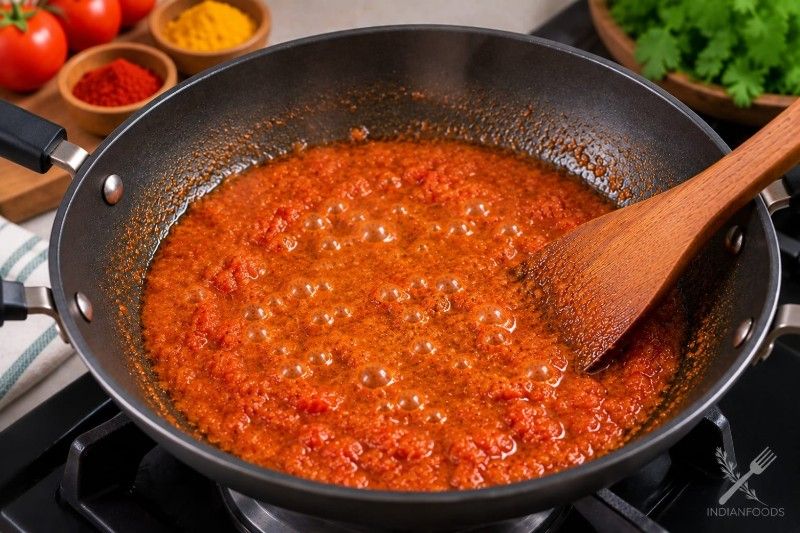
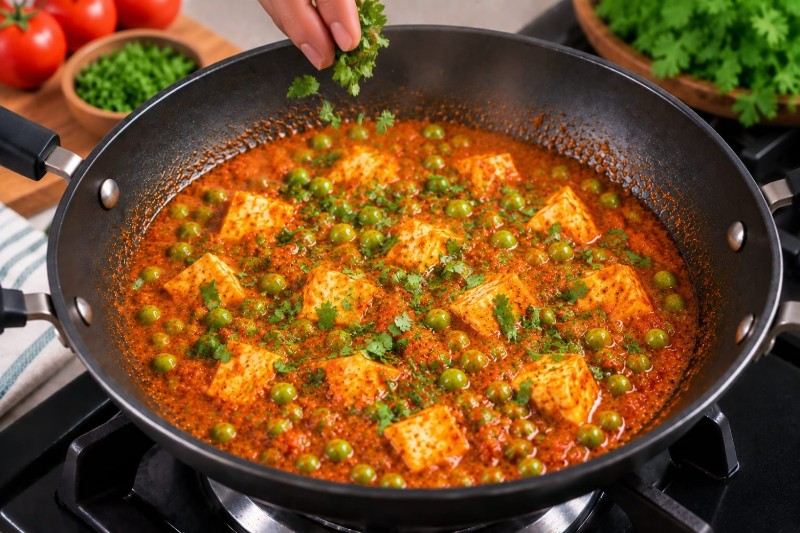
- Add green peas and mix gently with the gravy. Cook for 3–5 minutes until the peas are just tender.
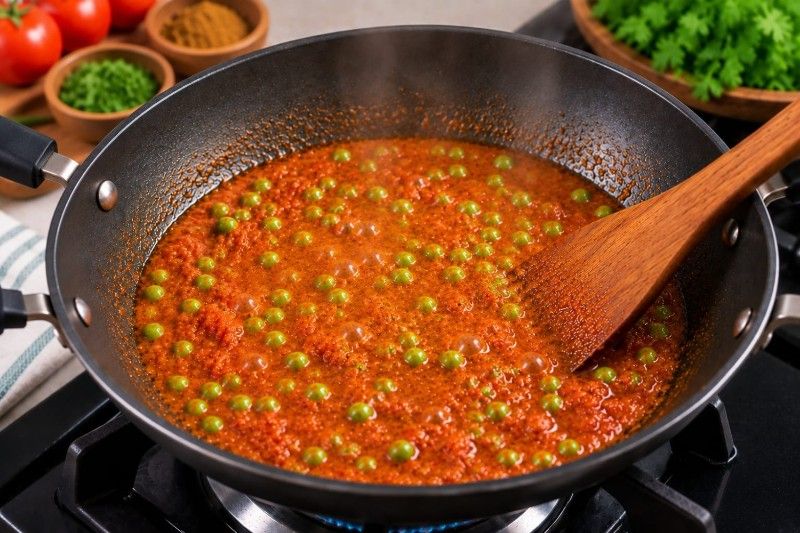
- Add the soaked paneer and gently mix it into the gravy. Simmer for 5–7 minutes without boiling.
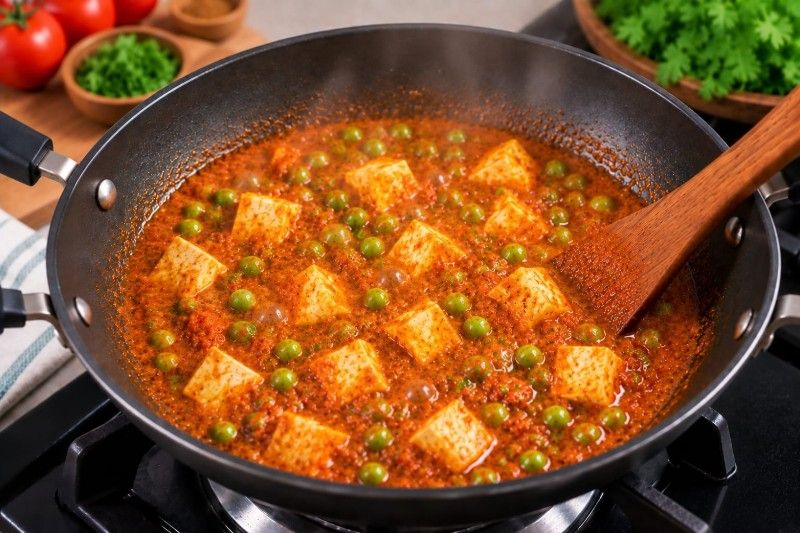
- Add garam masala, kasuri methi, and fresh coriander. Mix gently and serve the matar paneer hot.
Notes
- Taste the gravy before the paneer goes in — that’s your last real chance to fix salt, chilli, or tang with a squeeze of lemon if the tomatoes weren’t sour enough on their own.
- Once the paneer’s in, leave it alone. A gentle swirl of the pan coats the cubes fine. Vigorous stirring just breaks them up.
How do I make the restaurant-style paneer gravy base for matar paneer?
The base comes together in three stages: tempering whole spices, sautéing onion-ginger-garlic until golden, and cooking tomatoes down until the oil separates. Get each stage right and the rest of the recipe basically takes care of itself.
Heat oil or ghee in a heavy-bottomed pan — a kadai is best, it holds heat evenly and won’t scorch the masala the second you look away. Add cumin seeds and let them sizzle a few seconds. This is your tadka. It should smell nutty, not burnt; if it smells burnt, start again, don’t try to save it. Add finely chopped onions and cook on medium heat until light golden brown. Don’t rush this part. Pale, half-cooked onions leave the gravy tasting raw and sharp, and there’s no spice that fixes that later. Stir in ginger-garlic paste and cook another minute, until the raw smell is gone.
Now add pureed or finely chopped tomatoes with turmeric, red chilli powder, and coriander powder. Cook on medium-low, stirring now and then, until the mixture thickens and you see oil pooling at the edges of the pan. Usually 8-10 minutes. This is the single most important visual cue in the whole recipe, and it’s the one step most people skip because they’re impatient. Skip it and the gravy tastes thin and a bit sour no matter what you dump in afterward.
What’s The Difference Between Matar Paneer And Dhaba-Style Matar Paneer?
Dhaba-style is richer and smokier — more ghee, a deeper red from extra tomato or deggi mirch, sometimes a quick dhungar (charcoal smoking) step at the end. Home-style is lighter, less fat, a simpler spice hand.
Home-Style Matar Paneer curry recipe
Modest oil. A straightforward onion-tomato base. Everyday spices — turmeric, red chilli, coriander, garam masala. The gravy runs thinner, closer to a weeknight sabzi than a restaurant showpiece. Finish it with a pinch of garam masala and some coriander leaves, and that’s it.
Dhaba-Style Matar Paneer
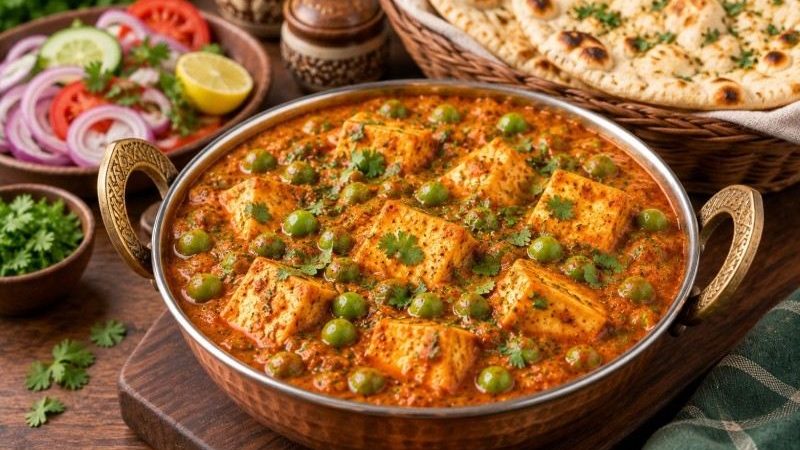
Highway dhabas cook in bulk, over a high flame, usually in old seasoned iron kadais that add their own depth — you can’t fully replicate that at home, but you can get close. The gravy runs thicker and glossier: more ghee or a ghee-oil mix, more tomatoes, sometimes a spoon of cashew or melon seed paste for body. A crushed pinch of kasuri methi goes in near the end for that distinct dhaba smell.
Some cooks finish with dhungar — a small piece of hot charcoal in a bowl set inside the pot, a drizzle of ghee over it, then the lid goes on for a minute or two so the smoke settles in. Optional, but it genuinely changes the dish. It’s the closest you’ll get to roadside-dhaba flavour without a tandoor in your kitchen.
What Are The Most Common Mistakes People Make With Matar Paneer?
- Adding paneer too early. Paneer that simmers the whole cooking time turns dense and rubbery. Add it in the last 5-7 minutes, no earlier.
- Undercooking the tomato-onion base. Skip the “oil separates” stage and the gravy tastes raw and thin, no matter how many spices go in after.
- Using cold, straight-from-the-fridge paneer. It goes firm and stops absorbing flavour. Let it warm up, or soak it.
- Overcooking the peas. Boil them too long and they lose their colour, their sweetness, and go dull and starchy instead.
- Skipping the rest after cooking. Matar paneer tastes better 10-15 minutes off the heat, once the paneer’s had a chance to soak up the gravy properly.
- Adding water too soon. Water before the masala’s fully cooked just dilutes everything. Cook the base dry first. Loosen it with water after.
Related Recipe
- Palak Paneer Recipe
- Aloo Paneer Recipe
- Paneer Do Pyaza Recipe
- Paneer Butter Masala Recipe
- Paneer Tikka Masala Recipe
Frequently asked questions
Yes — no thawing needed. Add them straight to the simmering gravy and cook about 3 minutes; they’re already blanched during processing, so they cook fast.
The tomato-onion base probably wasn’t cooked long enough. Keep it on medium-low until you see oil separating at the edges before adding any water.
2-3 days in an airtight container. The flavour often gets better the next day, though the paneer can firm up a little when reheated.
Yes — at home using tofu paneer, or a nut-based version using soaked peanuts milk paneer. Build the base with tomato and a cashew or melon seed paste, ginger, and a pinch of hing for depth. Same cooking sequence otherwise.
Soft rotis, jeera rice, or plain steamed rice all work. A simple dal or a cucumber-onion raita rounds it out into a proper meal.
It got boiled too hard for too long, or went in too early. Add it last, keep it at a gentle simmer, and give it just 5-7 minutes.